How To Wax a Table Using Leather Polish

Waxing an End Table Using Leather Polish
Time Needed: 2 hrs
Active Time: 40 minutes
Waiting Time: 1 hr 20 minutes
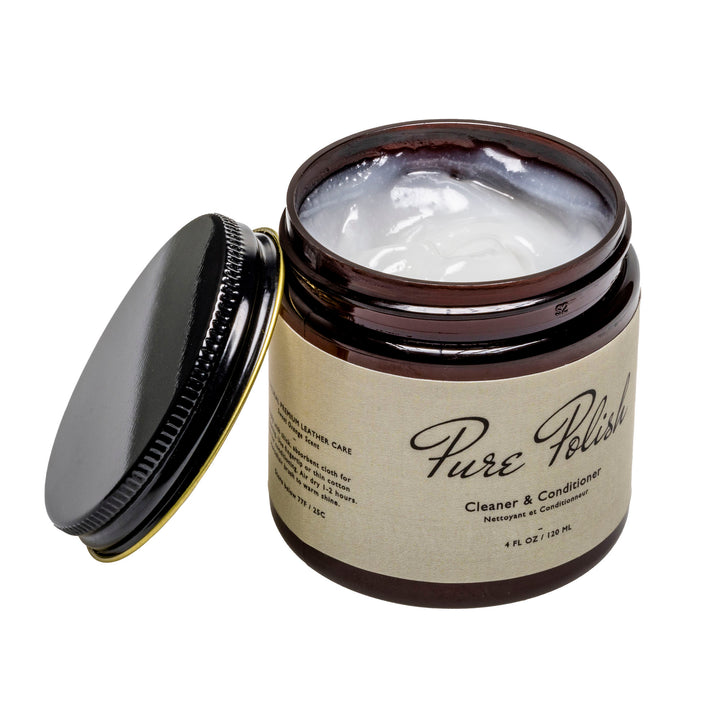
Tools Required: Cleaner Conditioner, Burgundy Cream, High Shine Wax, Soft Flannel Cloth, Water Spritzer, Horsehair Brush
With the COVID-19 Pandemic, most of us are spending a lot more time at home than we're used-to. With all this time at home, many of us are looking around and wanting to clean or upkeep our environment, furniture, office, kitchen, etc.
We're part of that stir-crazy bunch. And, when a family member enticed us with the question, "Do you ever use Pure Polish to clean, restore, or use on wood furniture surfaces?" We had to try! Of course, we've had some wonderful customers send in their examples and testimonials as to it working wonders on hardwood floors, or for encaustic painting. But, we hadn't tried it ourselves, yet.
I had been noticing that our red end table was getting a bit more use than it had been in recent years. There were coffee stains, other gunk, and was generally dull. So, that became the subject of our little experiment.
Watch the Video
Step 1 – Cleaning
Approximate Time: 15 minutes

Our Cleaner Conditioner uses orange oil, which is fantastic for cleaning, and coconut oil, which is fantastic for conditioning, and a little beeswax, which is good for simple protection.
With very light dabs on a soft flannel cloth, I swirled this around the surface, and immediately began to see an effect. The orange oil cleaned the wood surface beautifully. It picked up dust, and rehydrated the wood grain itself. The orange oil removed the grime and staining that was on it.
After a successful cleaning round, I noticed there were some scuffs in the wood itself that stood out against the otherwise beautiful red finish.
Step 2 – Color Restoration
Approximate Time: 10 minutes

The closest color we offer to the red surface of this table is our Burgundy Cream Polish. The rich pigment in our cream polish is perfect for restoring and adding vigor to leather grain, so I wondered if it would work similarly with wood.
I took small dabs of product, and applied it in circular motions with my fingertips, massaging it into the grain.
The pigments and oils were absorbed by the wood, and the scuffs no longer stood out against the rest of the surface.
Let dry 20 minutes.
Step 3 – Finishing
Approximate Time: 15 minutes

One of the key principles to a good shoe shine, is to not leave the surface "sticky". We assume the same principles apply here with wood polish, so we wanted to finish it with a higher gloss product, using stiff/hard waxes, to protect the surface, and give it an appropriate finishing luster, and have it dry smoothly and not leave any colored product to be picked up by later use.
For a neutral/clear finishing wax, we selected our High Shine Paste/Wax. Similarly to the final buffing of a mirror shine on a shoe, we took small dabs, and "swirled" it into the wood grain. Very thin dabs allowed for smooth application, without any clumping or over-wax accumulation.
After covering the whole of the surface with a thin layer of High Shine, I went around the outer bevel and also covered it with a thin layer.
Always making sure to keep the surface smooth, I only utilized very thin dab amounts, before spreading it.
And, since we're "Shoe People", I took a long horsehair brush and lightly buffed across the surface of the table, to ensure it was spread smoothly and evenly.
Wait 1 hr to let the solvents evaporate and waxes to harden and dry.
Taking the soft flannel cloth, I took a single spritz of water across the surface, and lightly buffed the top of the table in a circular pattern.
That was how it finished. Now the surface is super smooth, protected a bit more from regular use, and is much brighter.
Take a look at the video above. to see the final result.
Let us know in the comments below if you've ever done a project like this and what your results were.