
From High Shine to Mirror Shine
I’m often asked how to achieve a spectacular shine on leather dress shoes using Pure Polish Products. And while not everyone is trying to achieve a mirror shine (nor is it recommended on all types of shoes or boots), it is a useful skill to know, and a fun result to achieve.
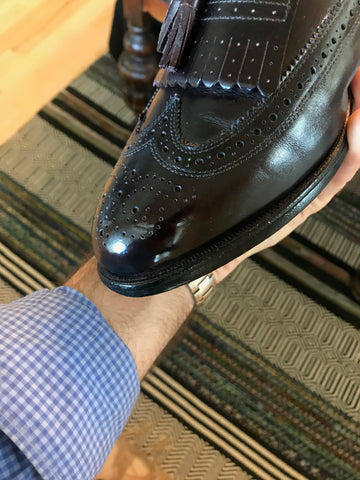
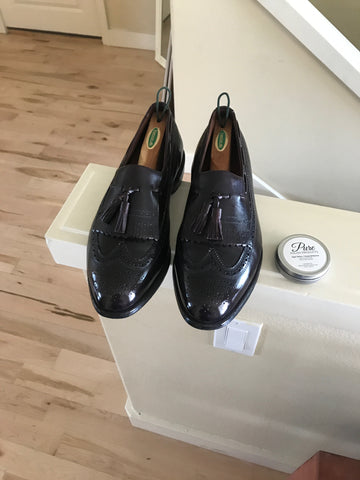
So I took this pair of Allen Edmonds Arlington loafers that had been conditioned and polished with our Neutral Cream Polish, and I set out to take an already beautiful “High Shine” to the next level: the “Mirror Shine” (also known as a Spit Shine, Bull Shine, or Glacage).
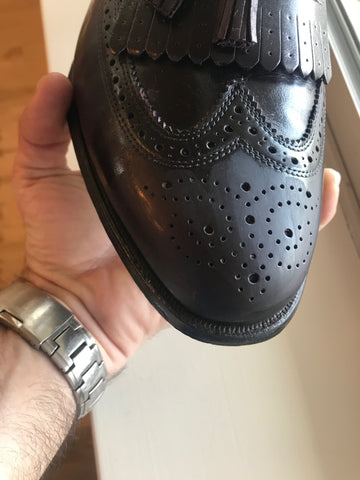
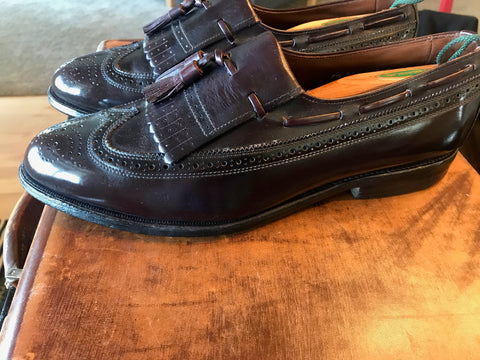
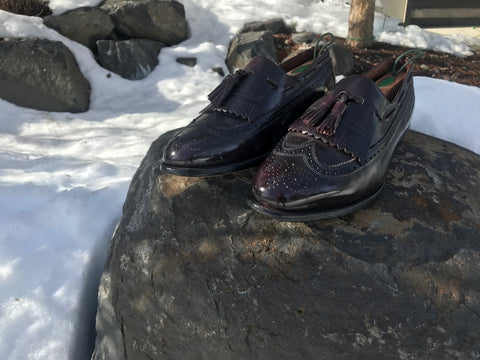
Start — we begin with a nicely cream polished pair of Allen Edmonds Arlington loafers in Merlot.
Note: All photos are completely unmodified, taken with an iPhone 8. No filters were added, nor color, lighting, or detail corrections. No edits were made for the purpose of this demonstration. Enjoy!

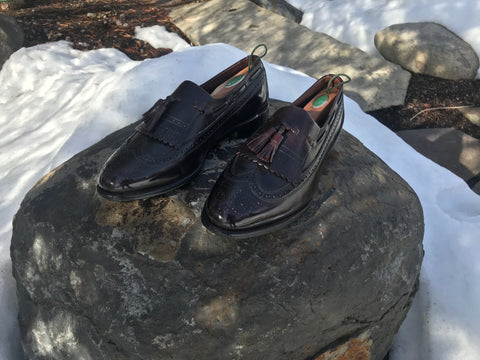
As you can see, there’s a nice shine, but not quite a reflective “mirror shine”.
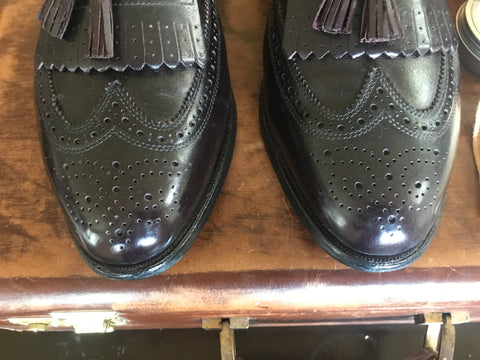
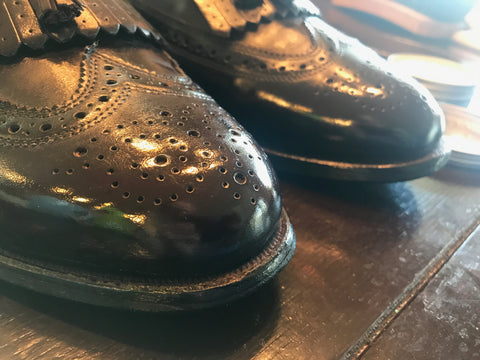
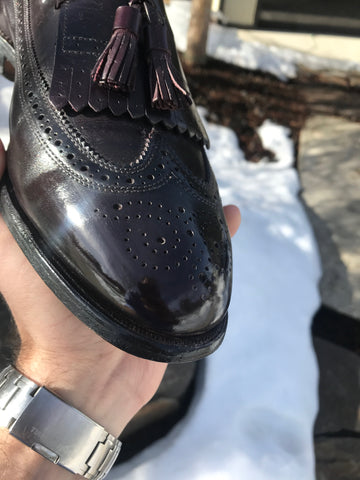
Close up on the right loafer —

Close up on the left loafer —

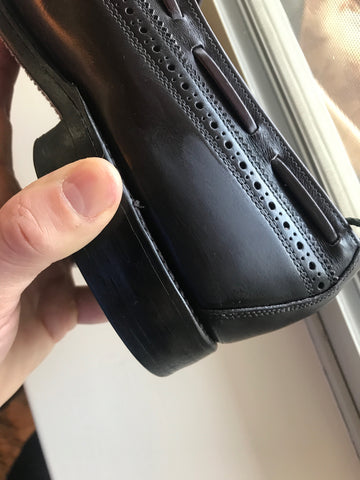
To begin a mirror shine, you have to add a “wax base” to the stiff/non-flexing areas of the shoe. This is typically the toe box and heel.
The reason for only mirror shining the non-flexing areas is because the waxes that create the super high shine are very stiff (carnauba wax in our case — the stiffest natural wax in existence). And if that area of leather flexes with the natural movement of your shoe, it will crack like a candle and crumble, causing a very ugly and unprotected section of leather.
You can mirror shine a whole shoe - but then you'd never be able to wear it, as it would crumble into little bits of wax and look like a huge mess, the minute you wore it or walked in it.
Stick to toes & heels for the mirror!
I start with a tin of High Shine Paste Polish.
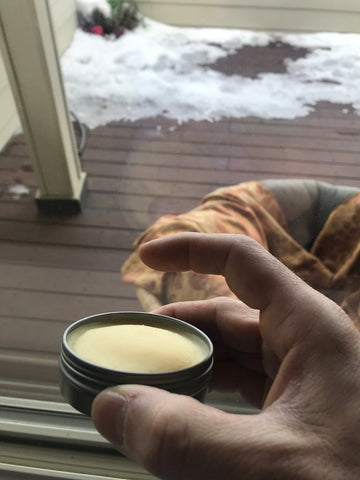
I add only a little bit to my fingertip.

I apply it in vertical stripes on the toe.
See how it fogs up the whole toe cap?
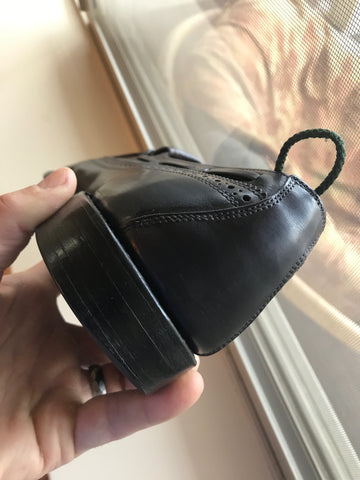
I then repeat this process with the heel.
You don't just leave the wax there to dry, you have to rub it in to the leather. I do this with cross-hatch rubbing across and along the grain. I do this until it begins to smooth and shine.
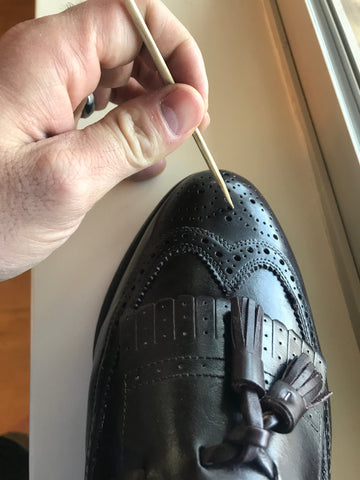
Sometimes you'll get small flakes of wax caught in the broguing of the shoe. I use a wooden shishkebab skewer to clean the hole, without affecting the top layer of wax.

A
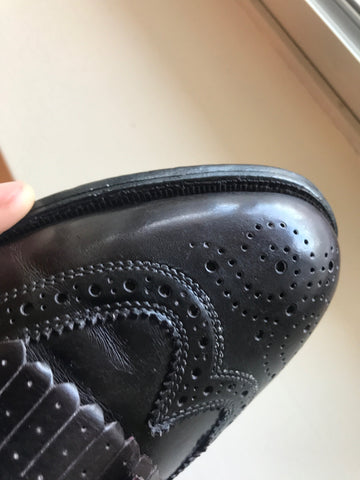
I ensure the wax base is solid before proceeding with the mirror shine. As you can see, it's a bit foggy and not optimally "shiny". That's less my concern than whether or not there are occlusions in the wax. If there are, then water will not be able to stay on top of it very well, and it will get absorbed into the leather instead of creating a reflection.

The magic behind mirror shining is the water. You need to find the perfect balance between "damp" and not too wet or dry for your application cloth. You need to add water to the surface, without getting it too wet (I use a single droplet at a time). And you don't want to use too little water that you end up dragging your cloth or wax, and pulling up the base layers. Practice, practice!

I rub in circles when I first start the mirror shine. One single droplet, a "dab" of the High Shine Paste, and then rub in circles, until it's clear and shiny. I repeat the "dab", droplet, rub, process about 6-8 times per toe and heel.

A
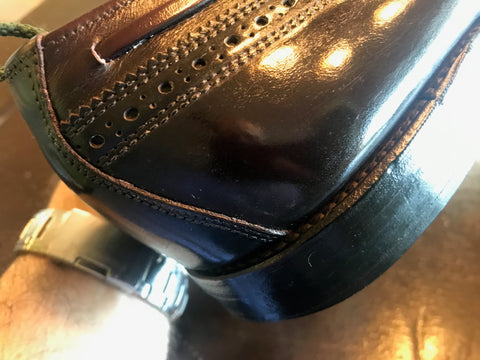
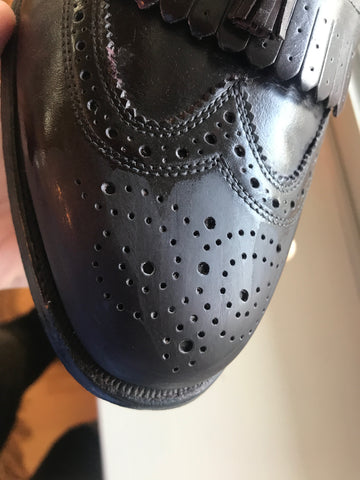
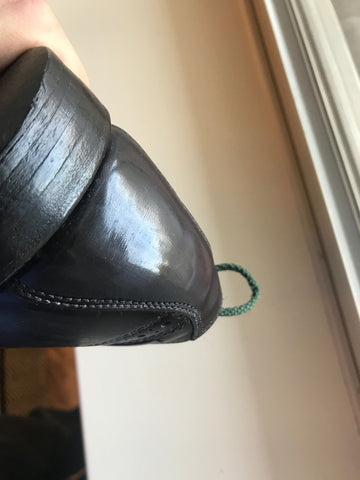
Here you can see the toes are beginning to reflect after one go-around.

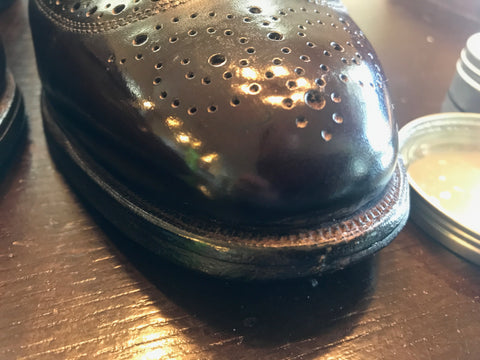
After two rounds of mirror shining, it's beginning to look smooth all around.


Now it's time to get a clean section of cloth, spray it twice for dampness, and clean the surface for some beautiful outdoor shots (where lighting is more natural).

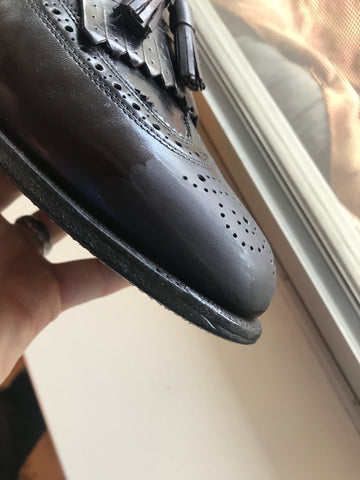
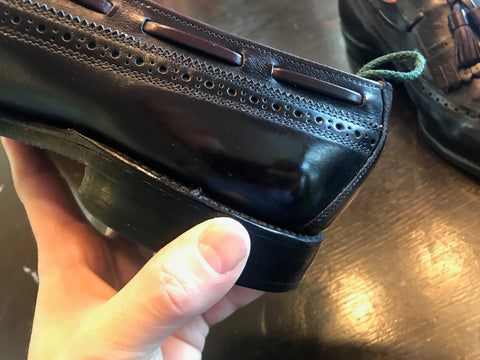
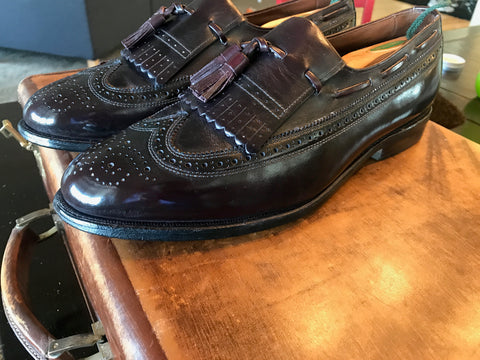
This side shot shows a great contrast between the mirror shine on the toe and heel, and the soft shine on the rest of the leather.

Mirrored!

And, just in case you think outdoors lighting is necessary to show the quality of the shine (it's not, but it helps)...
Thank you!
Great article, mate!