
Restoring Vintage Florsheim Imperial Wingtip Oxfords
Step-by-Step Restoration of Vintage Florsheim Imperial Wingtip Full-Brogue Oxfords
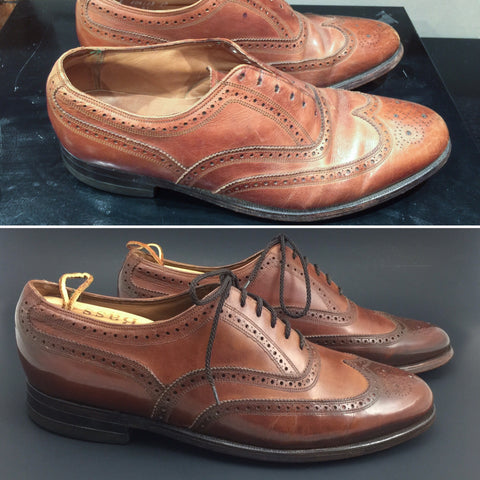
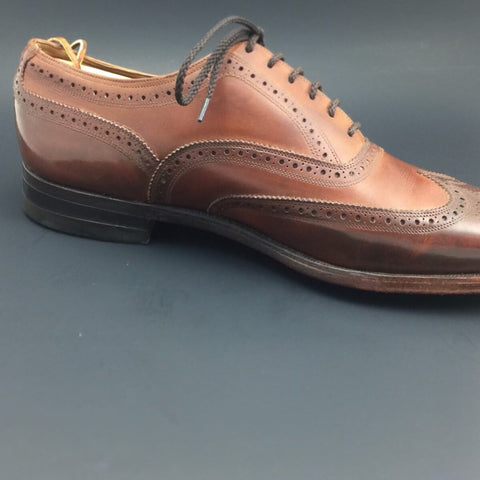
These vintage Florsheim Imperial wingtip full-brogue oxfords were given new life recently, using only our products for a full restore from start-to-finish.
Picked up from the bottom shelf of a thrift store for $4, we recognized that the leather still had a lot of life left in them, if given some love and chemistry attention.
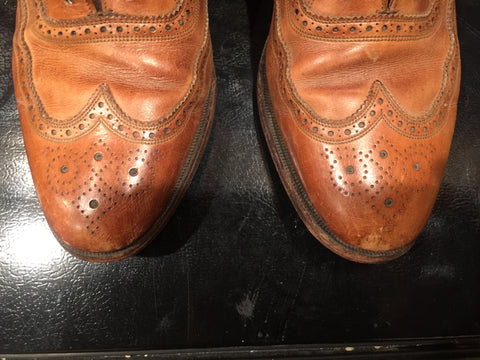
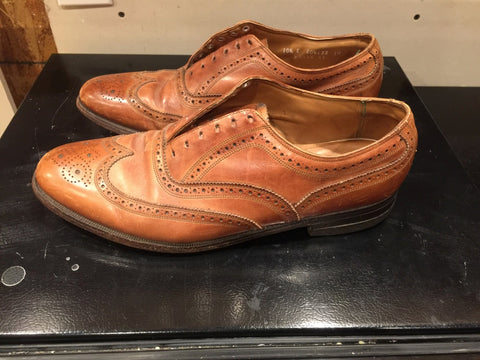

Made from full-grain calfskin, we could tell that it had dried out and was scuffed on the surface, but the integrity of the leather - overall - was still intact.
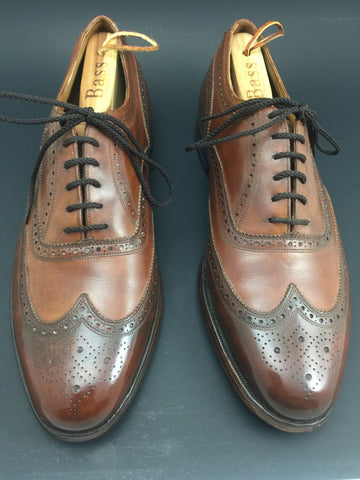
Given it was a used pair of shoes, we first swiped the insides completely with 70% Isopropyl Alcohol. Then, we found a pair of shoe trees that fit this size (US 10.5 D), and put them inside to regain the natural size.
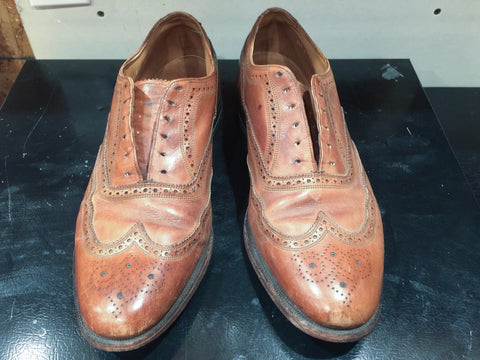
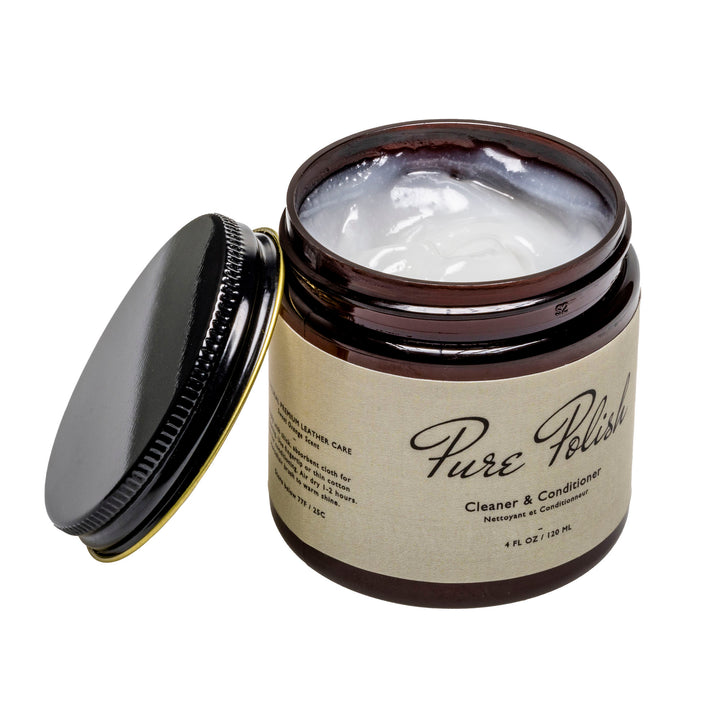
To remove surface waxes and old dirt & grime, we used Cleaner Conditioner with cotton balls.
After the surface was relatively clean, we sanded it down using a top-down-top progression of grits: 1200, 1000, 600, 200, 600, 1000, 1200. We only used the heavier grits on the deeper scuffs. If you've never done this before, it's kind of like scrubbing calluses off (leather is dead skin, after all). You're just trying to get to the soft, smooth under-layer. Be gentle, but it can help if a scuff is too deep to cover up with standard creams or pastes.
After sanding, we recognized that the leather still needed conditioning oils (all leathers come from the tannery with oil imbued within it. These had obviously dried up over many years, and not been replaced.) So, again, using Cleaner Conditioner, but with our fingertips this time, we added the conditioning oils back into the leather. We wiped off any excess, brushed it into the fibers, and let it sit for 24 hours.
*Note: We wish we took pictures at this point. But forgot and only got good before/after pics.
Letting the leather sit, evaporate, and condition for 24 hours is essential to regaining the integrity of the fibers. If you rush it too quickly, and don't let the solvents evaporate fully, you may force too much product into the pores, or smother the fibers themselves.
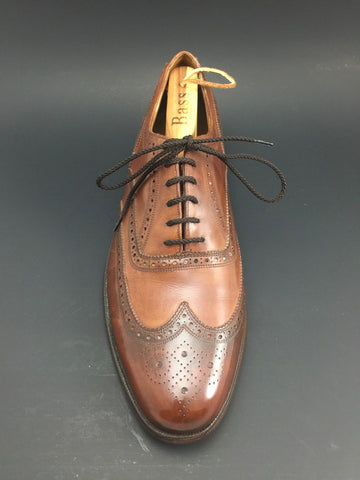
We then added Colored Cream Polish in both Walnut and Brown - Walnut for the vamp, Brown for the toes and heels.
Thoroughly brushing with a horsehair brush into the fibers, wiping off the excess, and brushing again, was the process for finishing the cream polish into the leather.
For a final step, we added Brown Paste Polish on the toes and heels for extra protection, color depth, and shine. This was applied using fingertips for thin layers, brushed smooth, and then buffed like a "mirror shine" or "lensing" process.
Enjoy the "after" pics!


Eric – This was a personal project to show the efficacy of Pure Polish Products on vintage leather. You can purchase your own under our products page. I suggest seeking a good local cobbler for the kind of work you’re looking for.
Hi. What is the cost of the leather work ? Also the cost of resole and heels. Thanks from Sarasota, Fl